BY Brimly.March 27, 2025Chocolate-Dipped Peanut Butter Cookies

Photo By Editors @ the Brimly Test Kitchen


Novice Cook60 minutesGluten-freeSweet Treat Now, Why This Recipe and What Makes It Special?
What makes this chocolate-dipped peanut butter cookie recipe so special to me is how incredibly satisfying it is. I like to bake these cookies a little larger than usual because I wanted to create a cookie that truly satisfies in just one serving. It’s that perfect treat when you want something sweet, but don’t want to overindulge. You get all the joy of a dessert without needing to eat a dozen.
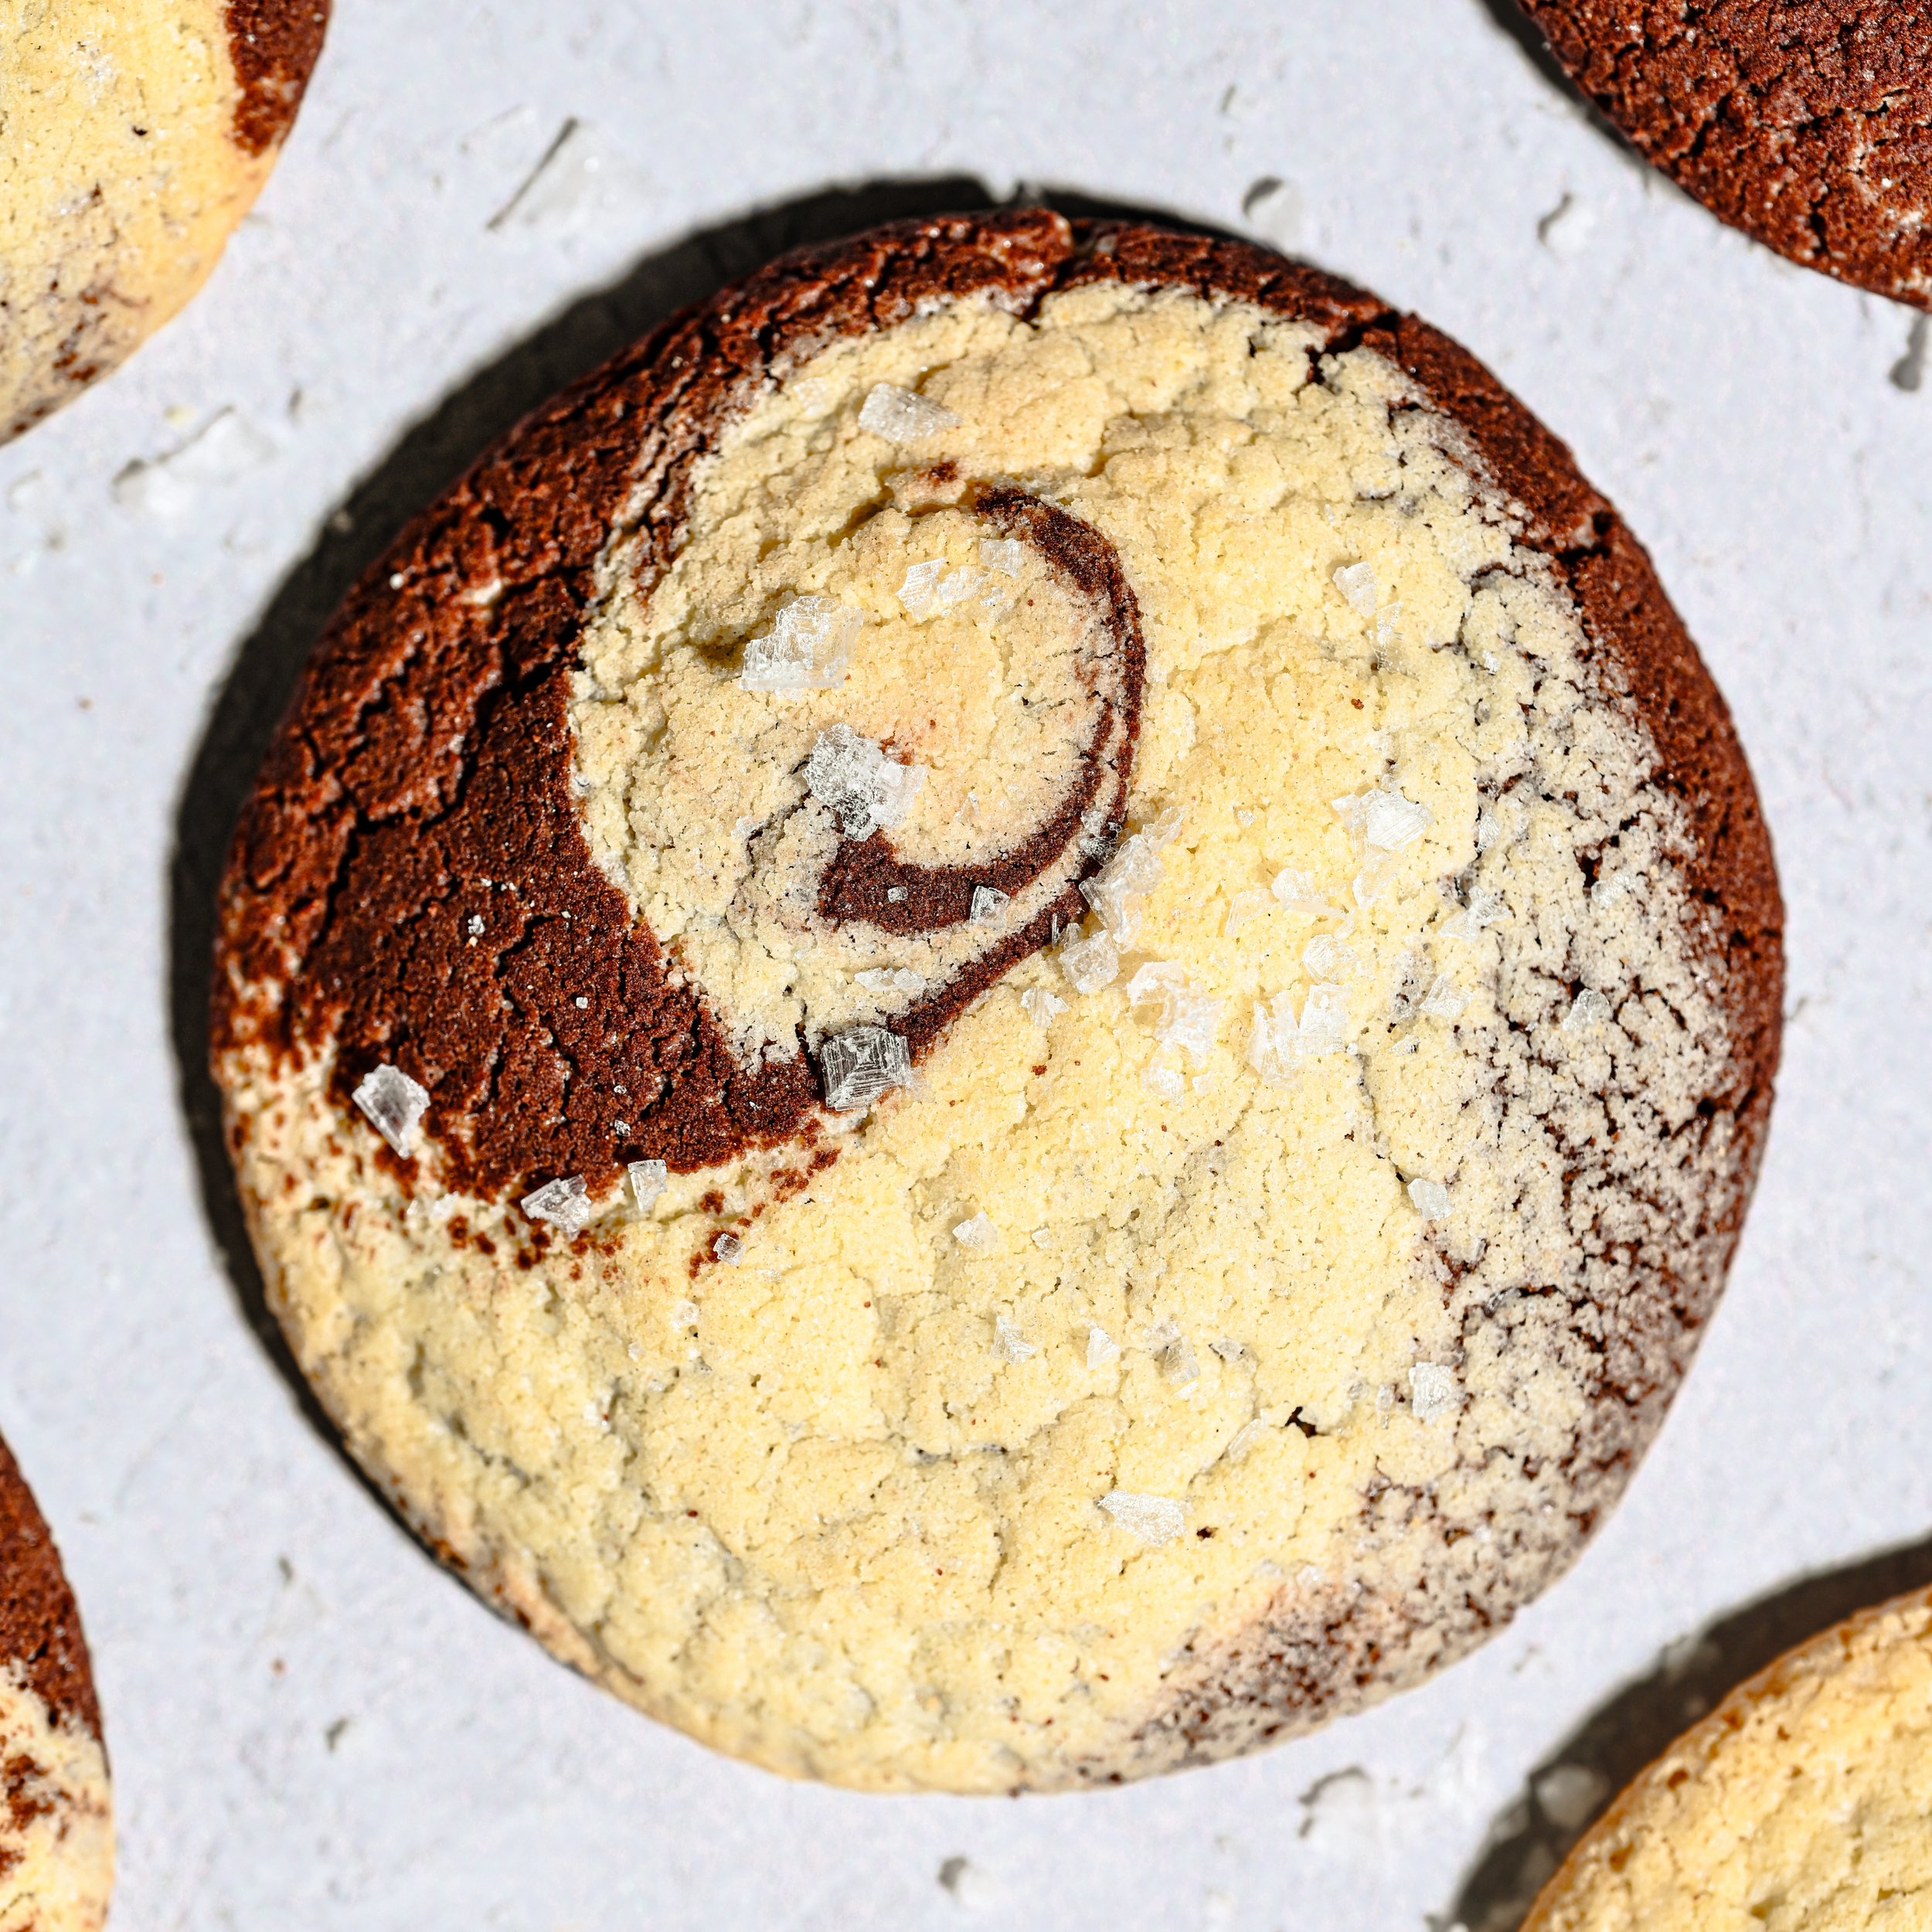
This cookie has a lovely balance of sweetness, leaning more on the peanut butter flavor than sugar. If you’re a fan of Reese’s Cups, I think this cookie gives you just a hint of that familiar flavor—a chocolatey bottom paired with a peanut butter cookie top. Honestly, what more could you ask for? It’s snackable, shareable, and beautiful to look at.
There’s also something so comforting about the classic criss-cross pattern pressed into the top with a fork, paired with that rich two-tone look—the warm golden brown of the cookie contrasting with the glossy chocolate base. It looks inviting, tastes incredible, and is the kind of cookie that satisfies both your cravings and your nostalgia.
I hadn’t had a peanut butter cookie in years—not since going gluten-free. And it took a while to finally create something that brought that craving full circle for me. I’m not just happy I can enjoy these cookies myself now, but even more excited to share this recipe with you.
This cookie is large and glorious, but of course, you can portion it smaller if you'd like. I just found that a bigger cookie does a lot of good for the soul.
It’s worth noting: this recipe is gluten-free, soy-free, and gum-free. That’s been a huge focus of mine—getting rid of the unnecessary gums and additives, and sticking to simple, digestible ingredients. I used a peanut butter I love and trust, one I know is gluten- and soy-free, and it worked wonderfully for this recipe.
This cookie is perfect for on-the-go, for sharing, or even splitting in half with someone. The recipe yields eight large cookies, and they are just everything I needed after missing peanut butter cookies for so long. I hope it becomes something you enjoy just as much as I do.
Ingredient Call-Outs and Swaps
When it comes to ingredient callouts and swaps, there are a few things to note that will help you tweak this cookie to your liking:
You can swap out the sugar and use brown sugar instead. It’ll add a deeper flavor and might give the cookie more moisture.
The vanilla extract I included is optional. I add it to almost everything I bake out of habit, but you can leave it out and the cookie will still turn out great.
While I used creamy peanut butter, you can absolutely go for a crunchy version for added texture.
You can experiment with other gluten-free flours if you have a blend you trust, though I personally used King Arthur’s gluten-free, xanthan gum-free flour and found it worked beautifully here.
If you’re not in the mood to dip cookies in chocolate, you can skip it or instead add chocolate chips directly into the dough to create a peanut butter chocolate chip cookie. That also works well and saves a step.
Lessons Learned
Gradually add milk when making the dough—especially if you’re using a different gluten-free flour. Some flours are thirstier than others, so slowly incorporating the liquid helps you control the texture.
If you’re using a hand whisk, there will come a point where it makes sense to switch to a spatula or your hands to knead the dough properly. A stand mixer would also work great and make things easier.
Make sure your peanut butter is soft—ideally room temperature or slightly warmed. Cold, thick peanut butter from the fridge doesn’t incorporate well and can make the dough dry and crumbly. A runny, softened peanut butter gives you the moisture gluten-free baking often needs.
As mentioned, vanilla is optional, so don’t worry if you don’t have it on hand.
For the chocolate-dipping step, I initially placed the cookies in the freezer to speed up setting, which worked—but leaving them in there too long (like an hour or more) made the cookies too soft and slightly soggy after thawing. So if you’re using the freezer, set a timer and only freeze for about 10–15 minutes. Otherwise, let them set on parchment paper at room temperature or in the fridge (which takes longer but keeps the texture crisp).
When adding the criss-cross pattern with a fork, it helps to oil the fork first. This keeps the dough from sticking. Also, oil your hands before rolling the dough into balls—this makes the process easier and cleaner.
If you want consistent cookie sizes, use a scale to weigh each dough ball. This helps make sure they bake evenly and look uniform, especially important for presentation or gifting.
How to Make It Your Own
There are so many ways you can make this recipe your own:
Add a spoonful of cocoa powder to the dough to deepen the chocolate vibe.
Mix in chocolate chips instead of dipping the bottoms.
Swap out peanut butter for another nut butter like almond butter or cashew butter. Just be mindful—different nut butters have different consistencies, so remember to add the milk (or water) gradually to maintain control over the dough texture.
If you want to make this dairy-free, swap the milk for water or a plant-based milk, again adding it in slowly to avoid making the dough too wet.
You can also bump up the salt slightly to give it more of that classic Reese’s-style flavor.
Skip the chocolate altogether and keep them plain—or portion them into smaller cookies for a different serving style.
Add peanuts or crushed nuts into the dough for extra crunch and peanut flavor.
For a final touch, sprinkle turbinado sugar on top before baking to give the cookie a crunchy, sparkly finish.
Summary Notes:
Whatever swaps or tweaks you make, I’d love to hear about them. Please leave a comment down below if you try something different, or even if you just bake them as-is and love them! These cookies are a favorite in my kitchen, and I hope they become one in yours too.
At Brimly, we take pride in presenting you with the finest products that our editors independently handpicked. In the spirit of transparency, we want you to know that we may earn an affiliate commission when you purchase something through the retail links below.
Essentials you’ll need:


view:
LISTENIngredients
1 cup gluten-free all-purpose flour
½ cup cane sugar, granulated
¼ tsp baking soda
¼ tsp kosher salt
¼ cup creamy peanut butter, softened
6 Tbsp milk
1 tsp vanilla extract
½ cup gluten-free milk chocolate chips
Recipe Steps
Step 1
Preheat your oven to 350°F (175°C). Line a baking sheet with parchment paper or a baking mat.
Step 2
In a mixing bowl, combine the gluten-free flour, sugar, baking soda, and salt.
Step 3
Add the peanut butter and vanilla extract to the dry ingredients. Mix until the dough is crumbly and evenly blended.
Step 4
Gradually add the milk, one tablespoon at a time, mixing until a soft, cohesive dough forms.
Step 5
Roll the dough into 8 equal balls and place them on the prepared baking sheet, then press gently with a fork—once vertically, once diagonally—for a crisscross pattern.
Step 6
Bake for 10–12 minutes or until the edges are just turning golden. Let the cookies cool on the baking sheet for a couple of minutes, then transfer to a wire rack to cool completely.
Step 7
Once fully cooled, melt the chocolate chips in a microwave-safe bowl in 20-second intervals, stirring in between, until smooth.
Step 8
Dip the bottoms of each cookie into the melted chocolate, then place them chocolate-side down on a parchment-lined baking tray. Pop the tray into the refrigerator for up to 30 minutes to set the chocolate.
Note:
Store in an airtight container at room temperature for up to a week, or in the fridge for longer freshness. If you’re in a warm climate, the fridge helps keep the chocolate bottoms firm.
More From Brimly.
by Brimly kitchen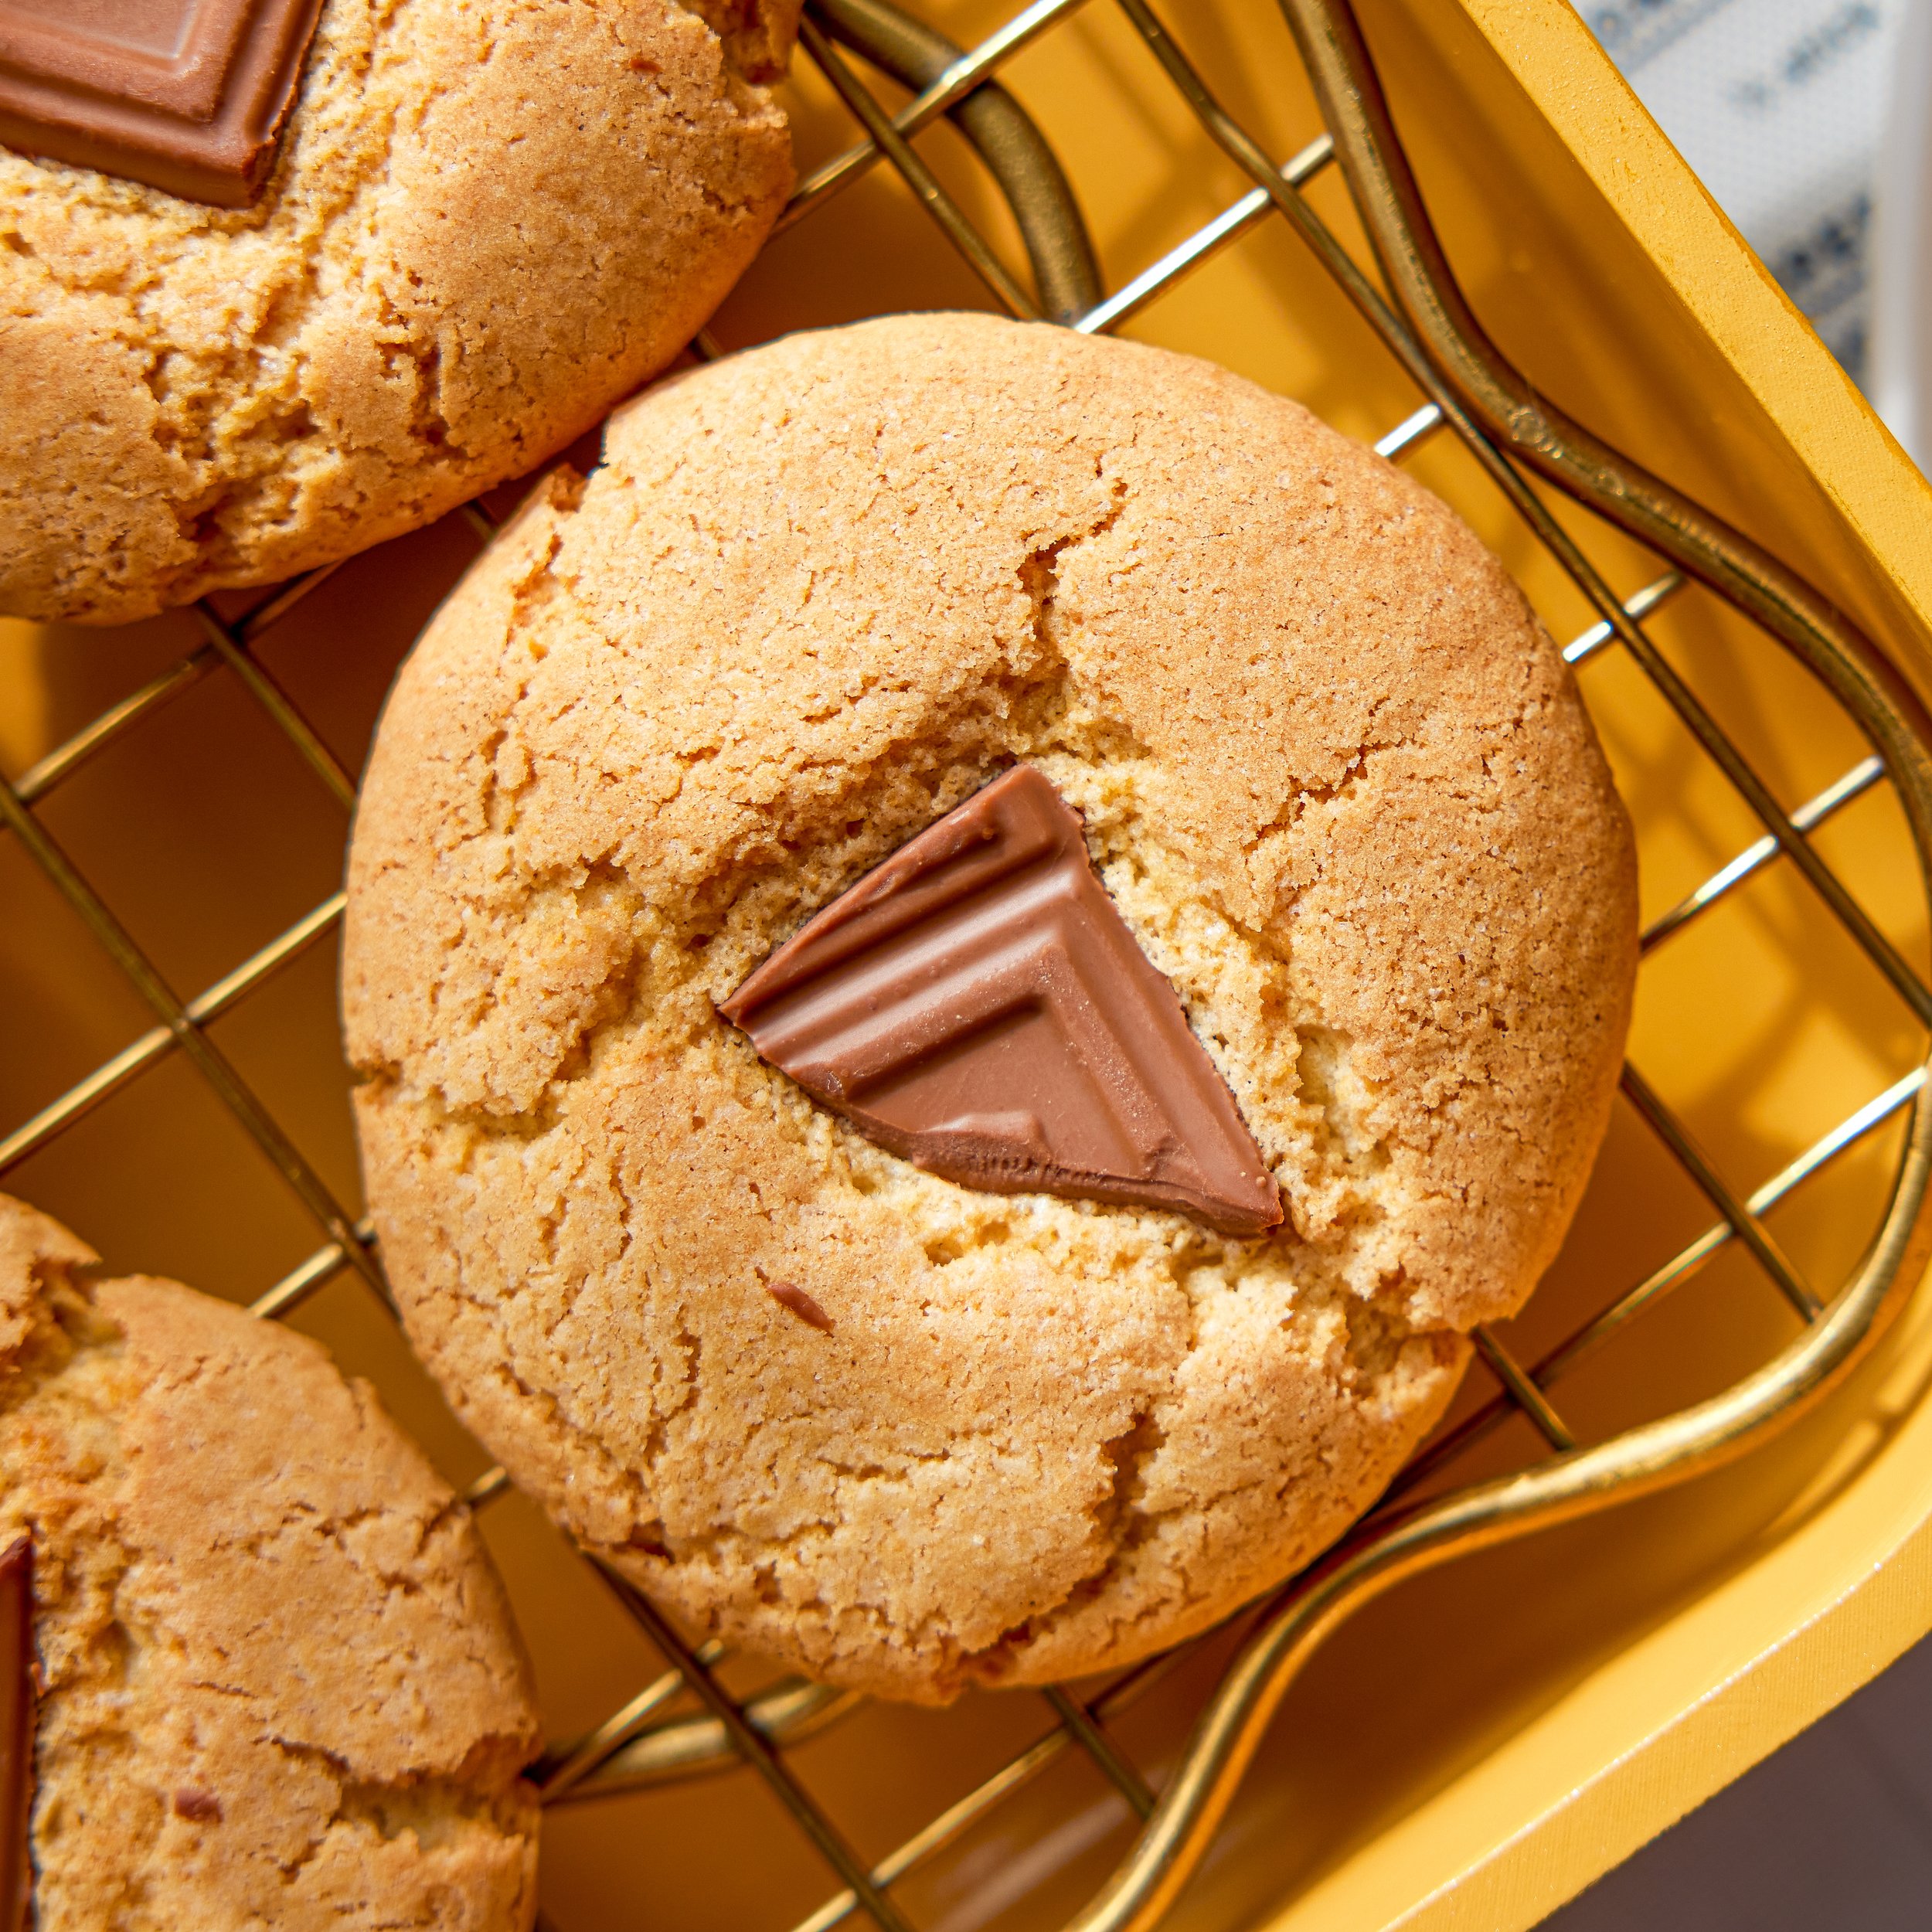
by Brimly kitchen
by Brimly kitchen
by Brimly kitchen