BY Brimly.FEBRUARY 11, 2025Gluten-Free Vanilla Pound Cake
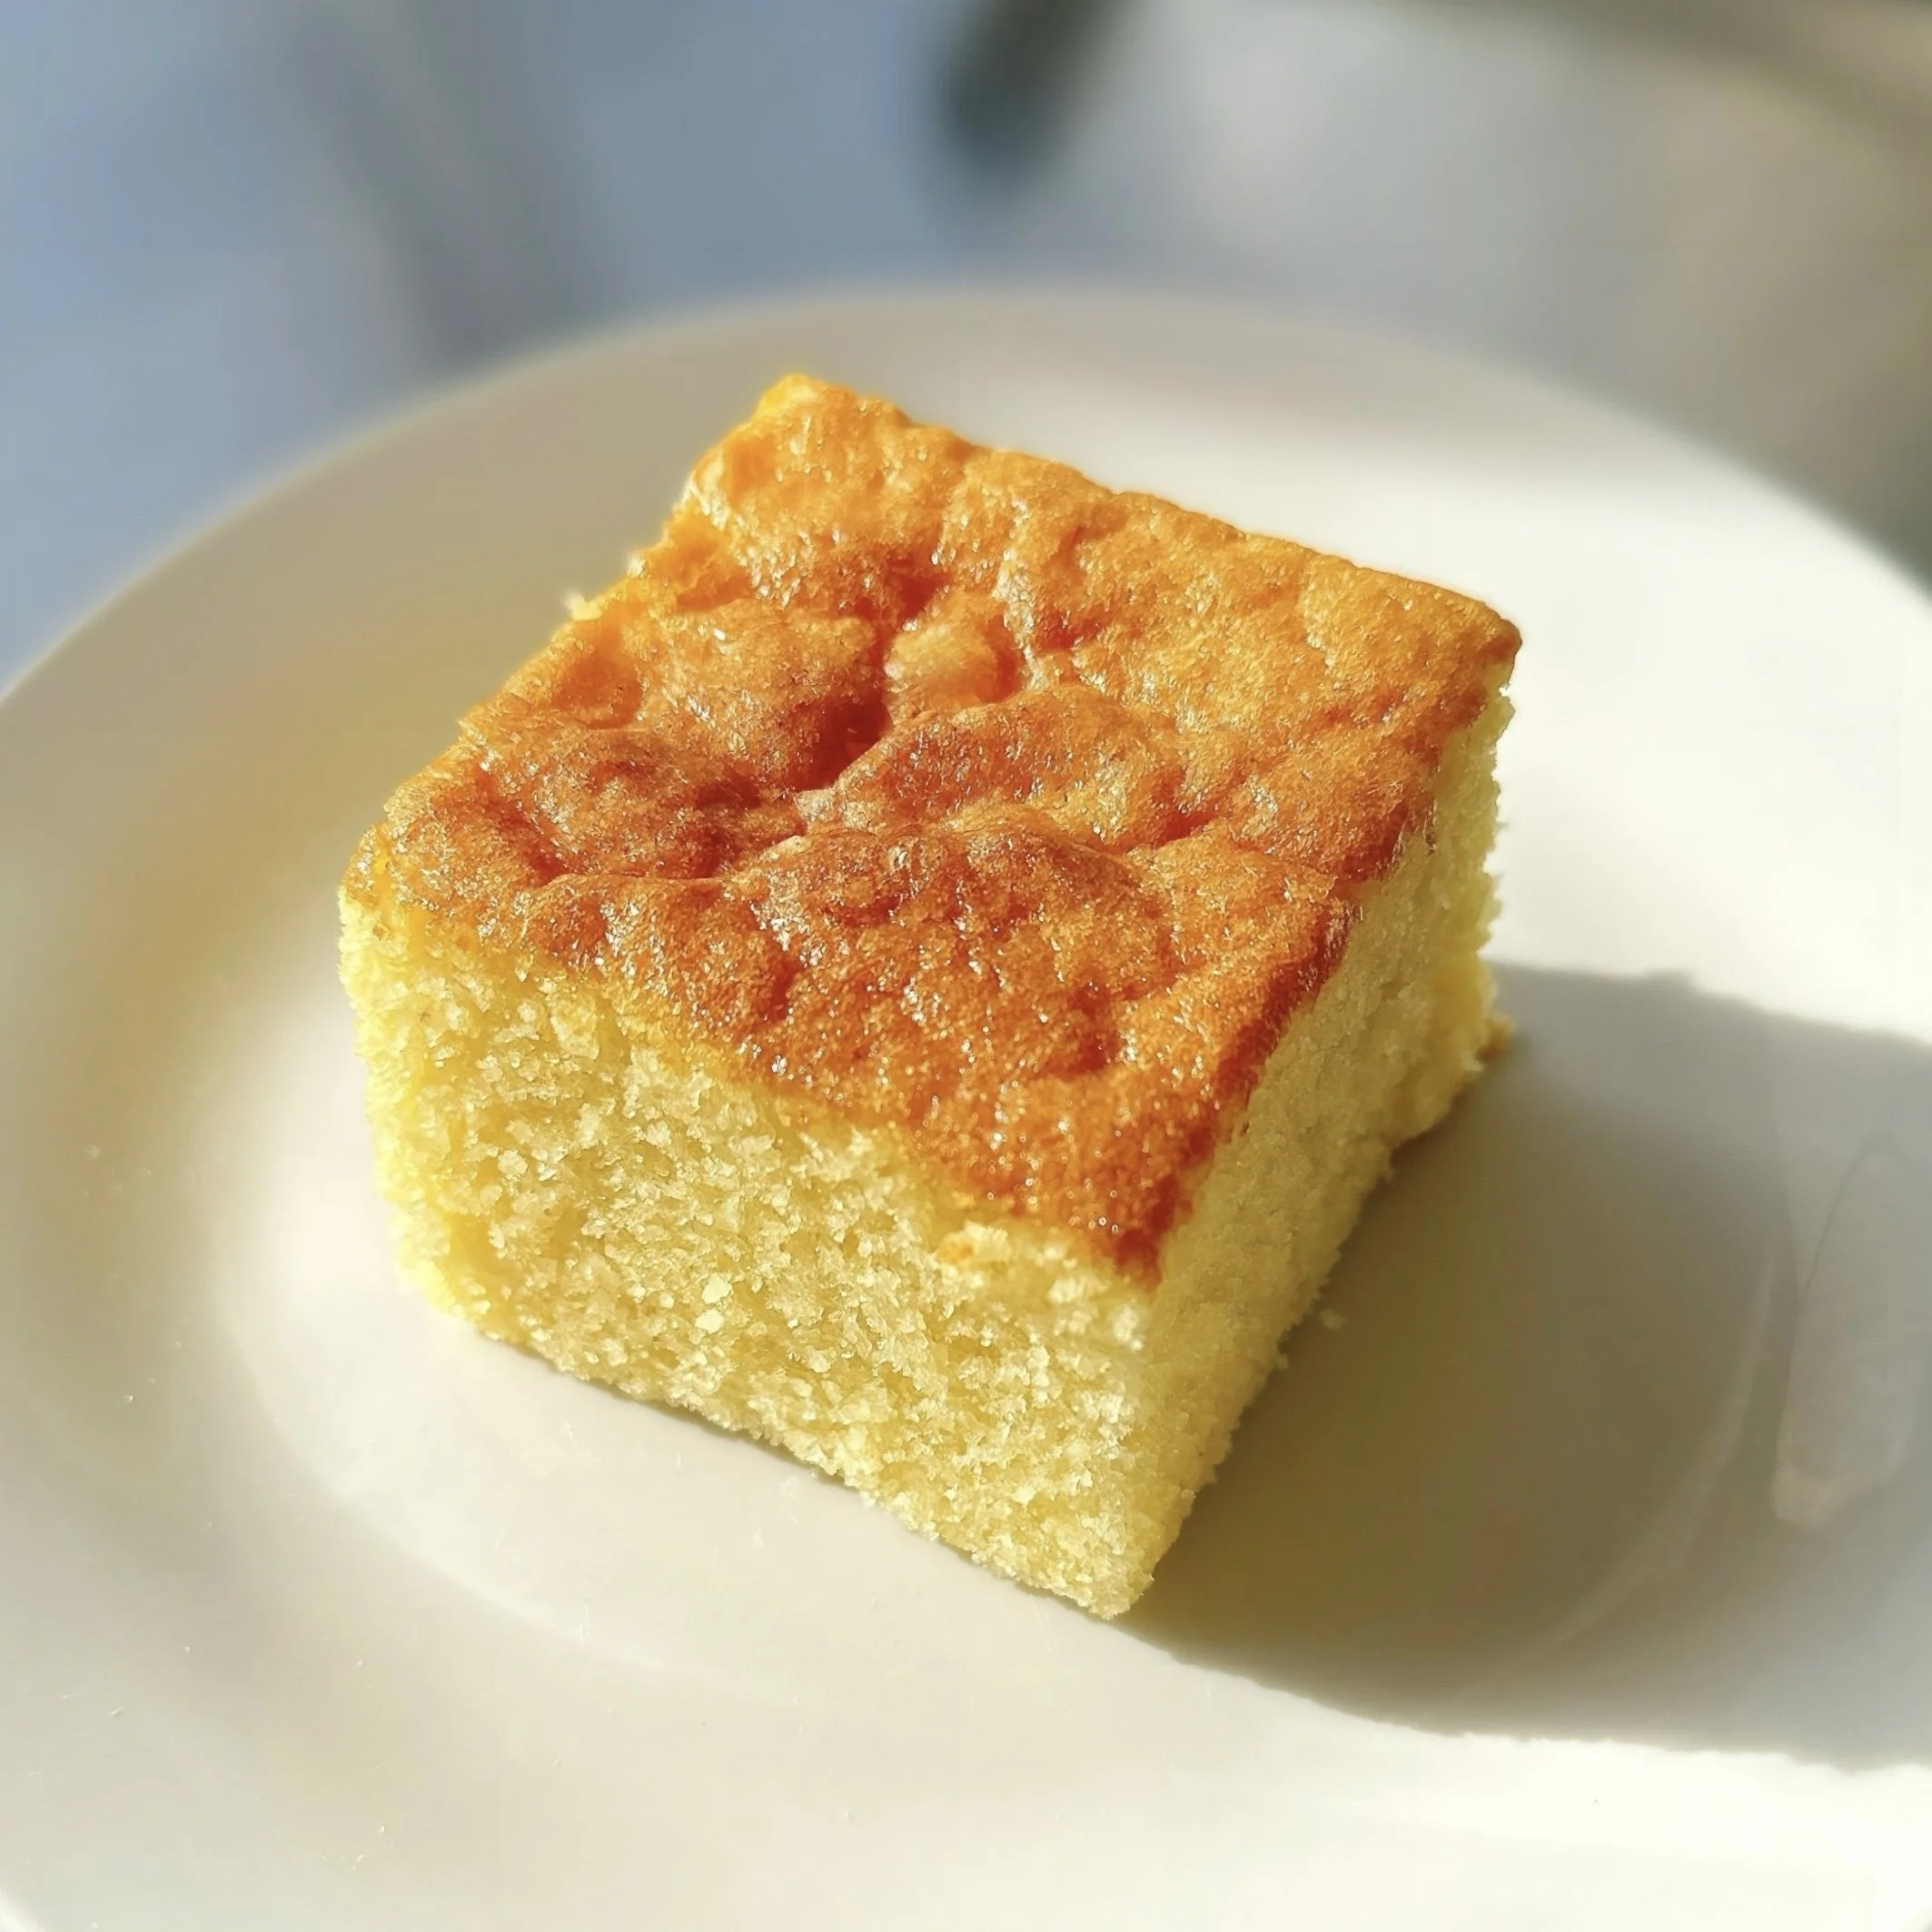
Photo By Editors @ the Brimly Test Kitchen


Skilled Cook45 minutesGluten-freeSweet Treat Now, Why This Recipe and What Makes It Special?
For me, this recipe is the result of a craving that just wouldn’t quit. It’s one I refused to give up on because I’ve always loved pound cake. When I discovered I had a gluten intolerance—on top of a soy intolerance—I felt like so much of what I used to enjoy was suddenly off-limits. But based on my personality, I’m the kind of person who doesn’t quit on anything. I firmly believe that there’s a solution to every problem, and I apply that mindset to everything, including food.
So when I was diagnosed with gluten and soy intolerance, I was naturally thrown off at first. But that constant reminder in my mind—there's a solution to everything—kept me going. I knew there had to be a way to satisfy my cravings for the foods I missed. However, I quickly realized that I couldn’t tolerate xanthan gum either. Every time I ate something with xanthan gum, I’d end up with stomach pains, so I had to cut it out entirely. That was another curveball because nearly every gluten-free flour blend out there contains xanthan gum for stability.
I had no idea what I was going to do, but when it came to making this pound cake, I decided to push forward with the one flour I knew worked for me: King Arthur Gluten-Free All-Purpose Flour (without xanthan gum). It’s my go-to flour for many recipes, though not all of them have worked out. When I first tested this pound cake, it didn’t turn out as I’d hoped—it was more like cornbread than pound cake. But I didn’t give up. I kept tweaking, trusting that I’d find a way to make it work.
And finally, I did. This recipe is proof that persistence pays off. I used to love grabbing pound cake slices from Wawa—a local convenience store/gas station we have here on the East Coast. I lived for those slices. But of course, they always left me with stomach pain, though I didn’t know why at the time. Now, I can finally enjoy pound cake again, on my own terms. This recipe reignited my love for baking, and I can confidently say—it’s a winner. So if you love pound cake, this one’s definitely worth a try.
Ingredient Call-Outs, Swaps and Lessons Learned
One of the biggest lessons I learned while making this recipe was the importance of room temperature ingredients. It makes a huge difference in how the batter comes together and, ultimately, how the cake bakes.
The first time I made this, I poured in cold milk straight from the fridge as the final ingredient, and it completely threw off the batter. The cold milk caused it to coagulate, giving the final cake a texture that was more like cornbread—definitely not what I wanted. I didn’t realize the issue at first, but when I tested the recipe again, it just so happened that all my ingredients had been sitting out and were at room temperature. The result? A perfect pound cake.
So my advice? Use room temperature ingredients. This means:
Room temperature eggs
Melted butter that’s not hot but comfortably warm
Room temperature milk
If you forget to take your eggs out in advance, here’s a quick trick: place them in a bowl of warm water for a few minutes. It’s an easy way to bring them to room temperature fast.
How to Make It Your Own
There are plenty of ways to customize this pound cake to suit your taste! Here are a few ideas:
Mix-ins: Add raisins, chocolate chips, or even chopped nuts for extra texture and flavor.
Make it a layer cake: This cake can absolutely work as a layered cake, but I recommend refrigerating it first. Once it’s fully cooled at room temperature, chill it in the fridge for a few hours. The cake becomes more structured when cold, making it easier to slice into layers without crumbling.
Serving suggestions: I dusted mine with powdered sugar for a simple finish, but you could also top it with whipped cream, fresh berries, or a light glaze.
One thing to note—because it’s a pound cake, it firms up when refrigerated. If you prefer a softer texture, let it sit at room temperature for a bit before serving, or give it a quick zap in the microwave to bring back that fresh-baked softness.
I really enjoyed creating this recipe, and I’d love to hear what you think! If you make it, drop a comment below and let us know how it turned out for you.
At Brimly, we take pride in presenting you with the finest products that our editors independently handpicked. In the spirit of transparency, we want you to know that we may earn an affiliate commission when you purchase something through the retail links below.
Essentials you’ll need:


view:
LISTENIngredients
½ cup unsalted butter, melted (8 tablespoons)
¾ cup sugar, granulated
2 large eggs
1 tsp pure vanilla extract
1 cup gluten-free all-purpose flour
1 tsp baking powder
¼ tsp kosher salt
⅓ cup milk, dairy or non-dairy
Recipe Steps
Step 1
Preheat your oven to 350°F (175°C). Grease a 7×7-inch square pan or line it with parchment paper.
Step 2
In a large bowl, whisk together the melted butter and sugar until smooth. Add the eggs and vanilla extract, whisking until combined.
Step 3
Add the gluten-free flour, baking powder, and salt to the wet ingredients. Mix until just combined.
Step 4
Stir or whisk in the milk until the batter is smooth.
Step 5
Pour the batter into the prepared pan. Bake for 25-30 minutes, or until a toothpick inserted in the center comes out clean.
Step 6
Let the cake cool for 10 minutes before slicing. Serve plain, with powdered sugar, or your favorite frosting.
More From Brimly.
by Brimly kitchen
by Brimly kitchen
by Brimly kitchen
by Brimly kitchen